
(Disclosure: Please note that some of the links below are affiliate links and at no additional cost to you, I may earn a commission. When you purchase hosting using my Hostgator affiliate link, they compensate me, which helps make this guide free of charge to you. Know that I only recommend products and services I’ve personally used and stand behind.)
Let’s play a game.
See if you can name me one influencer or person who runs a successful business that doesn’t have website or blog?
I’ll wait.
.
.
.
.
Still thinking? Don’t rack your brain too long.
The fact is if you want to start an online business or command any type of influence online, you need a blog, too. And if you’re going to have a blog, you might as well use the best, most affordable hosting platform on earth: HostGator.
It’s what I use to host Kings of Conversions. And it’s trusted by some of the biggest online marketers on earth. (People like: Andrew Warner, John Lee Dumas, Nathan Latka and more)
I’ve personally seen the power that setting up a blog and website has to change your life, so I put together a quick 12-step how to set yours up in less than 5 minutes below.
PLUS, keep reading to the bottom of this post to see how you can claim up to $300 in special bonuses if you get started using my link (affiliate).
Step 1: Think About The Site You Want To Build
Your website is where people will find you on the internet.
So it’s worth spending a few minutes brainstorming what you want to name it. Do you want it to be your name.com or maybe you have a potential business you’d like to start?
Whatever you choose, it should be something that’s distinct to you and your personal brand.
The great thing about Hostgator is they actually allows you to pick domain name when you get set up with their hosting. And for the rest of the steps in this article I’ll assume you get your domain name there, too.
I recommend you do that because it’s just easier to have everything all in one place.
To get your own domain, click here then click the big orange “Get Started Today” button in center of the screen.
You’ll then be taken to this page, where you can choose your plan:
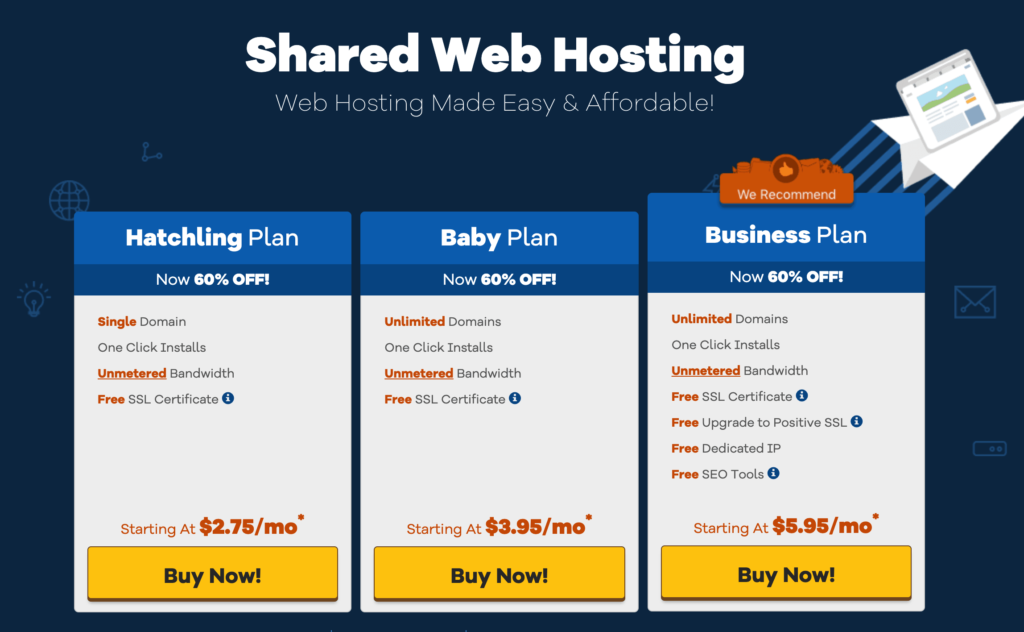
I recommend that middle option because it allows you to host unlimited domain names (should you ever want to add a new one in the future).
But if you’re on a really tight budget, the “Hatchling Plan” will do. I only recommend the business plan for REALLY big sites. So do not choose that option if you don’t already have a lot of traffic.
Once you decide which option is best for you, click the yellow “Buy Now” button, then you’ll be taken to the page where you can get your URL.

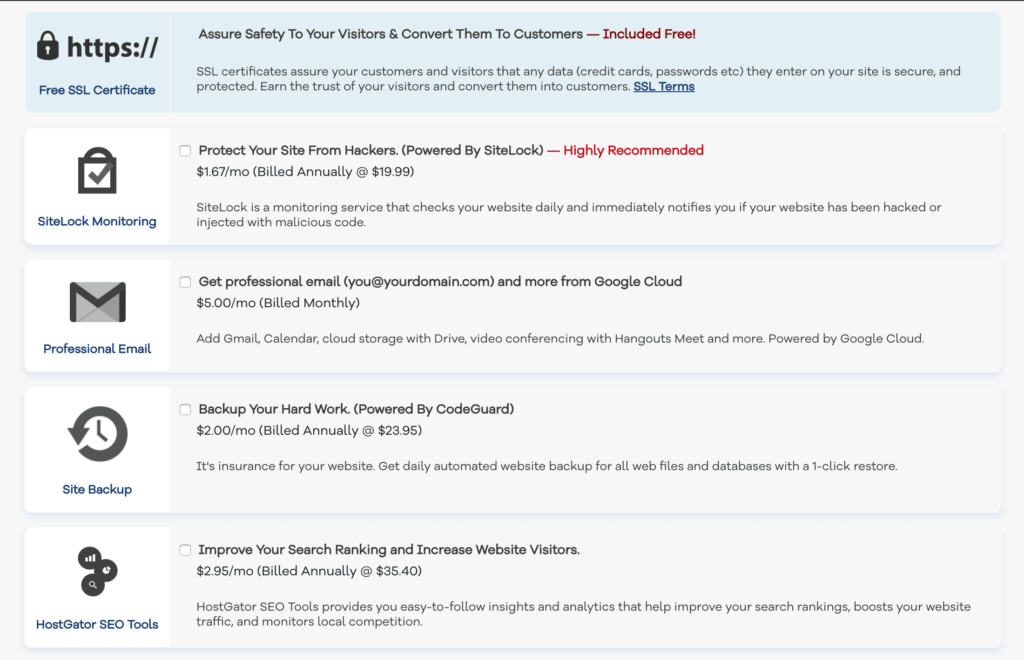
After you pick a domain in the screenshot above, scroll down on that page – skip over “Billing Information” and go directly to “4. Add Additional Services”
Step 2: Uncheck all the “Additional Services”, you don’t need them to start
For advanced users, HostGator offers all sorts of add ons. But my goal with this article is to help you launch your website and publish your first post as quickly and cheaply as possible.
That’s why I recommend you uncheck all of the add ons – they’re nice to have but not needed.
After you uncheck the add ons, review your order details to see your total price (this changes based on how many months you select with the plan).
NOTE: You can do to less months to save money – but just know that you will pay more in the long run. The best deal is to secure the 36 month plan.
Once you’re happy with price, fill in your billing information higher up on the Hostgator page and then proceed to step 3 in this article.
Step 3: Check the little “I have read” Checkbox and click “Checkout Now!”
If your checkout now button is grey, it’s because you didn’t check the little check box: “I have read and agree…”

Check that checkbox and then click the yellow Checkout Now! button.
Step 4: Click on “Hosting” inside of Hostgator and select your URL
After you checkout, you may need to check your email to confirm your login credentials and get a temporary password. Here’s a sample email to look out for:
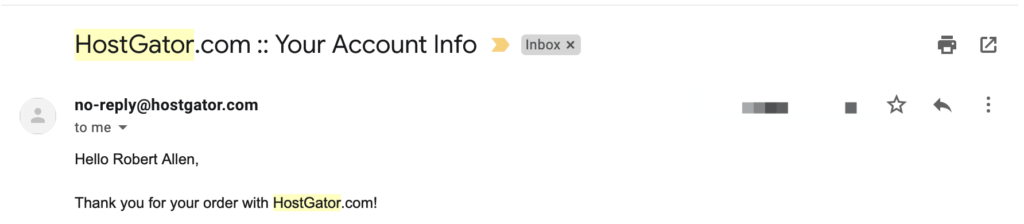
Then head back over to HostGator to login.
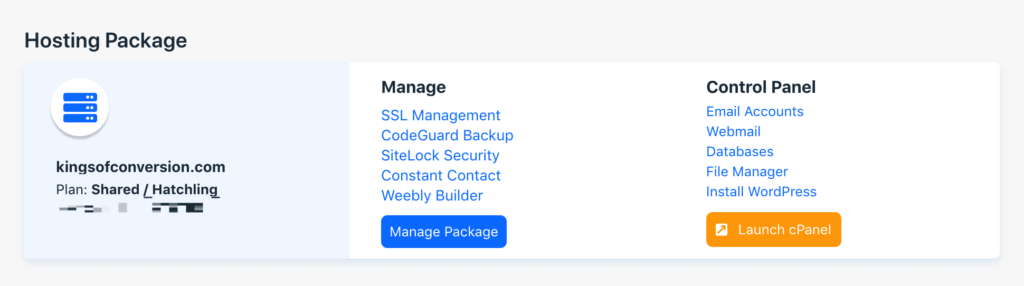
Once logged in, you’ll see a page like this and click the orange “Launch cPanel button”
Step 5: After You Click “Launch cPanel”
Now it’s time to setup the actual backbone of your site with WordPress. Think of WordPress like furniture you are adding to your house. It makes it more pretty, comfortable, and livable. For our sake, WordPress is the actual tool that lets us launch a blog on the Domain (URL) we just purchased.
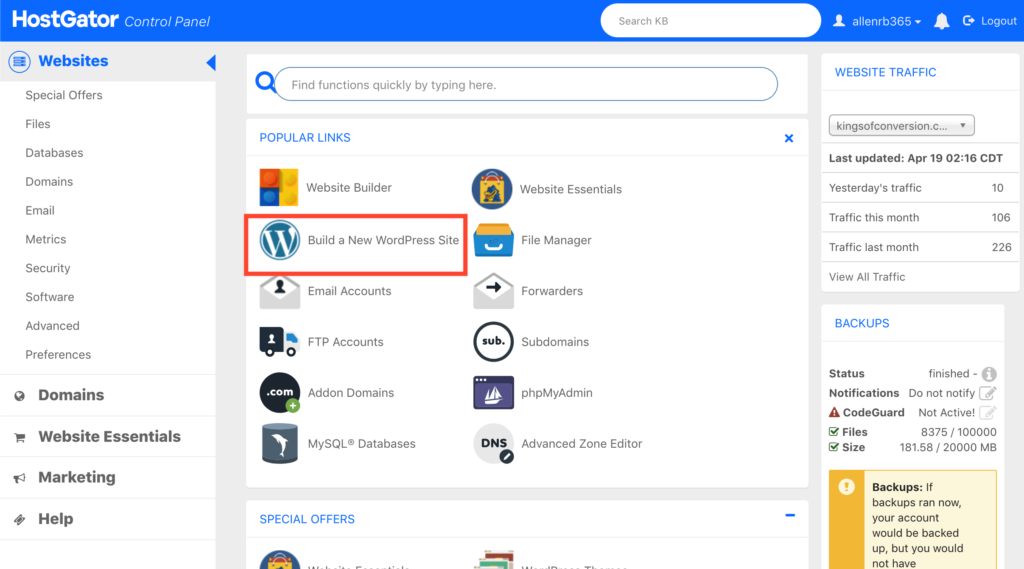
Right in the top section in the “Popular Links” section on the HostGator page and select the “Build a New WordPress Site” button.
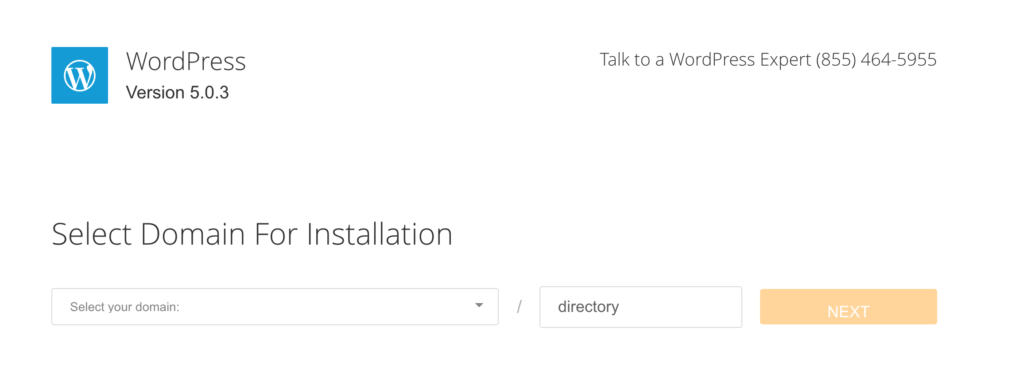
Then make sure to select your domain on the next screen and hit “NEXT”
Step 6: Set up your WordPress (Blog) login
Now it’s time to set up the actual login info.
You can change this later so don’t worry.
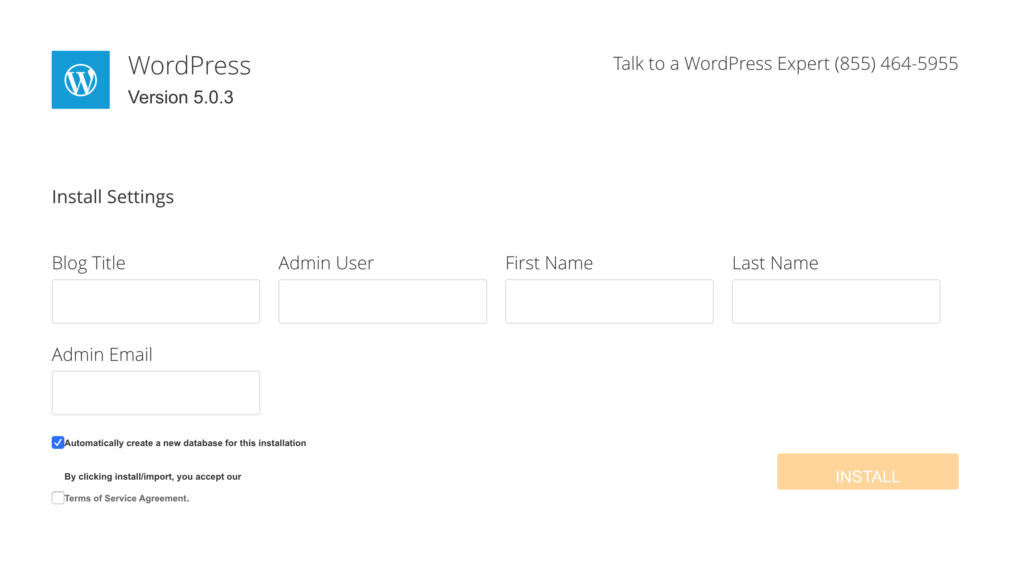
Admin email: Your Email Address
Blog Title: “Your Blog” shows up here (can change later):
Admin User: Make up an admin username
Click install and then go to the next step in this article.S
Step 7: Check Your Email For A Link To The “Admin Area” and Login
(NOTE: Admin area won’t be available immediately – go grab a coffee then come back. Don’t panic unless 30 minutes pass – then comment below and I’ll help)
Your “username or email” along with your password will be mailed to you once your wordpress site is ready to be live.
Once logged in, it’s just a matter of choosing a theme and publishing your first post.
Step 8: Once You Get The Email, Log In Your First Post
You should be directed to the login area in your email. Enter your username and password and then you’re inside “WordPress”. WordPress is used to quickly manage your blog and write new posts.
Step 9: Publish Your First Post
When you click “Posts” and “Add New” on the left side of this screen, a new blog post will be created. No one can see this until you click “Update” (sometimes “Publish”) on right side of this screen.
Type in your blog title. I used “My First Post!”. Then type in some content, this is where you’d write your article. I used “Yay!”.
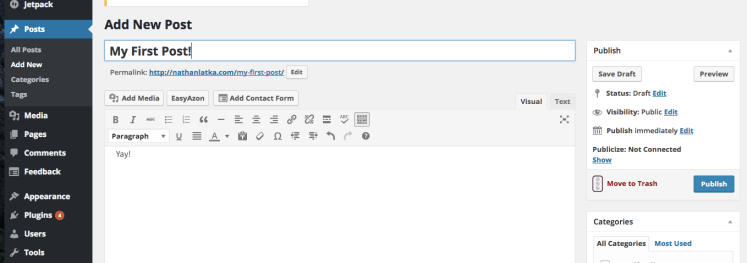
Click the blue/teal publish button on the right side of the screen to make your blog post live!
Step 10: Claim Your Bonuses! And Get Design Help
It’s that easy! Start building your website using my link and be up and running in minutes.
BUT WAIT! I also have a couple bonuses to encourage you to take action.
Send me a copy of your receipt, I’ll do three things:
1. A 30 minute 1-on-1 copy intensive
Want to have pro copywriter vet and approve your site?
If you sign up through my HostGator link, we’ll jump on Zoom, and I’ll help you think through the copy on your site — from your homepage to your about page.
I’ll also help you brainstorm some potential opt-in ideas so you can convert visitors into subscribers and eventually paying customers. I charge $250/hour for consulting work. So that’s a real $125 value, you get for free.
2. I’ll make your first month a profitable one.
I’ve seen the power of a blog to change your life. My friend Ryan Robinson makes over $50,000 per month from his blog alone. I plan to turn my blog into one of my main income streams. And I want the same freedom for you.
That’s why on top of the free copy review, I want to send you $5 the moment you sign up through my special link.
Will that allow you to quit your job? Of course not!
But it will completely cover your first month of hosting through and leave a little left over.
In other words, your first month with a website will be a profitable one (and it’s only onward and upward from here).
3. Get Design Help!
I’m not a designer – by any stretch of the word. But this tool I’ll share with you allowed even me to stand up a good-looking website relatively fast.
So if you needed a little nudge to get started, consider yourself pushed!
Combined, these bonuses are worth extra $130. And that’s on top of all the special gifts HostGator gives you through my unique link, including $100 in Google Adword Credit, $100 in Bing Credit, and a free SSL certificate.
The total value is well over $300.
But with my special link, you can have your blog up and running for less than $4/month right here.
To get started and claim these bonuses, simply use this link and then forward me your receipt at robert [AT] kingsofconversion.com .
Then, we’ll get the call set up and your money right over 🙂
Best,
Robert “Dude! Where’s Your Website?” Allen